|
While my gameroom was coming along nicely, I have always enjoyed playing Skee Ball and thought having one would be awesome. I search daily for
pinball, arcade and other various keywords on Craigs List using www.SearchTempest.com. and a machine showed up in
San Antonio for a reasonable price. After talking with the friendly lady who was selling the machine I learned it had come from Fiesta Texas amusement park some years ago
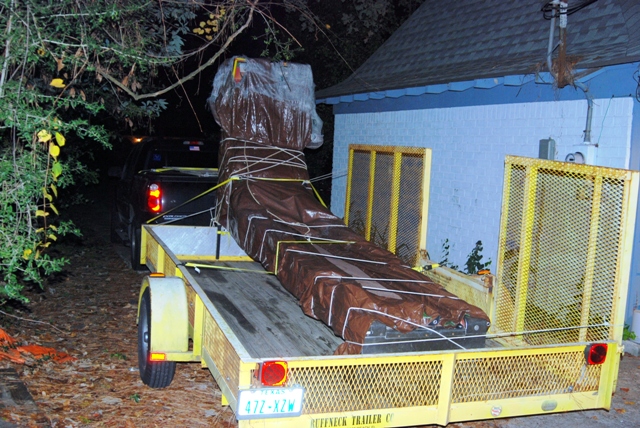
and they had in their game room. She assured me it was working and sent me photos so I could see all the 'big parts' where there. A 12 hour road trip on the following
Friday and I had it at the house.
|
|

|
The next morning I unwrapped the game and began to assess what I had purchased. First thing I realized is that it was dirty... really dirty... years of dirt... I suspect
that it hadn't really been cleaned since it came from the park and thus there was layers of dust and dirt. But all the parts seemed to be there and there were only a few
minor flaws other than the faded paint. Since rain was predicted I had to get it into the house to prevent any damage to the plywood of the cabinet. So I began to disassemble
it and do the first 'big clean'.
|
|
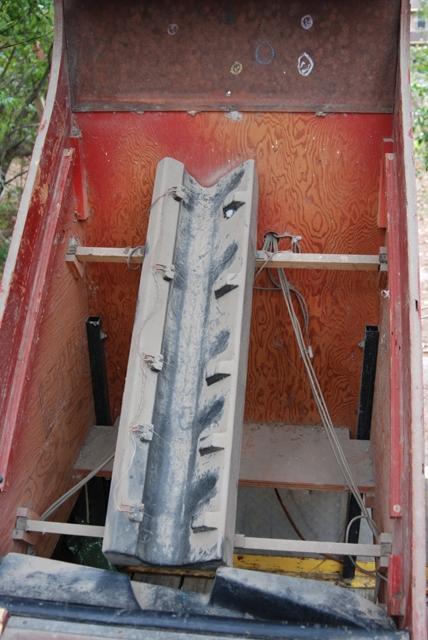
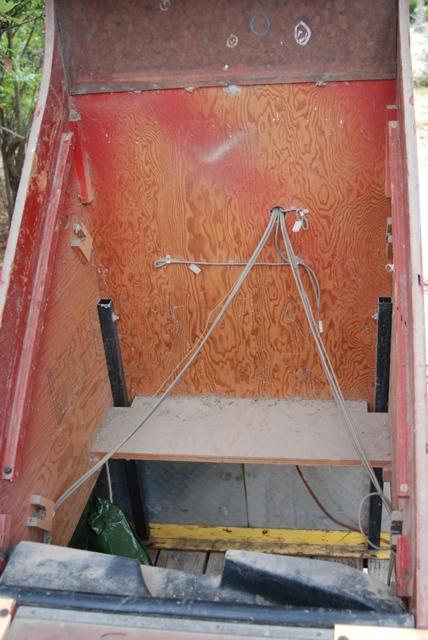
You can see in this photo where the play field is removed, the dirt inside was more extensive than on the outside. I first used my air compressor and air gun to blow off
the top layer of dirt. I then took each part off and used clean water and a dish cloth to remove the stubborn layers of dirt, spider webs and other unidentifyable stuff. Most
of the parts simply lifted out of this area.
|
|
|
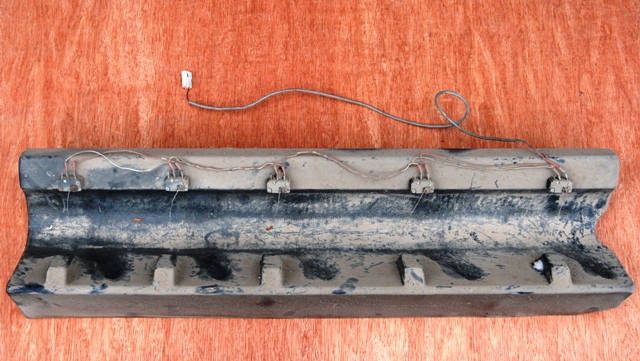
In this photo of the ball ramp, you can see how much dirt there was caked on it. You'll see there are 5 switches that are all connected in parallel. As the ball falls
into a pocket, it will roll by the appropriate number of switches.. each one giving 10 points each. I discovered that the last switch (10 point) was not functioning
properly. Luckily, I had an identicle switch that I had removed from a Bally pinball cabinet so replacement was quick and relatively free.
|
|
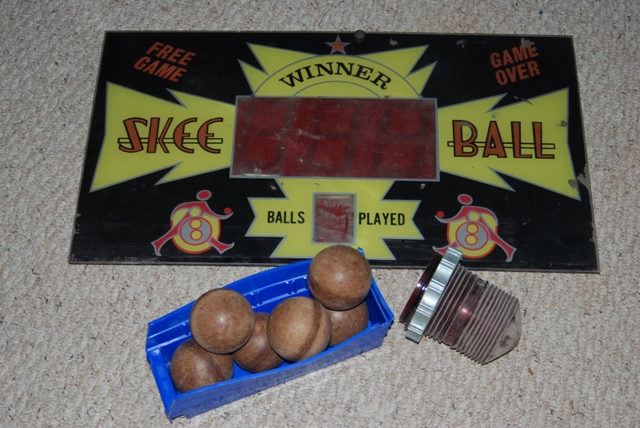
This is the display prior to any real cleaning. While the display looks like an LED display, it is actually a plastic mask that sits over individual 12v lamps. This
light board is made by Deltronics for the Skee Ball corporation. I have a few lamps out and a few broken sockets but they seem to be working. Some of the non-working
bulbs just need to be unplugged, shined up and reseated.
|
|
|
The machine came with 6 balls and has the option to work with 6 or 9 so I've set it to nine. The red globe sits over a round bracket on the top of the machine and
flashes as controlled by the game. The translight disply board is in OK condition and when installed and lit looks OK. I probably won't replace it unless I find one
in perfect condition and really, really cheap. I would like a 6 extra wooden balls though.
|
|
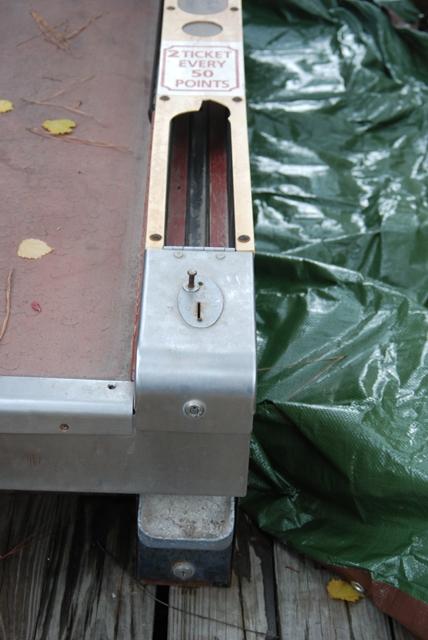
The ally itself is in really good condition considering it has the original cork covering. Besides being faded the plastic rail covers are in decent shape with
the only broken spot being just above the ball retreival area. I had no keys so I have since drilled and rekeyed all three places with common keyed barrel locks.
|
|
|
The coin mech was in the machine and after some squirts of compressed air was cleaned out and passed a quarter as it should. When I tested the machine at
the sellers home, they used the little button on the left side to start a game. Knowing that the coin mech would work I decided to make it operate on quarters like
the rest of my games. That little button, is for programming the machine not starting a game, but more on that later.
|
|
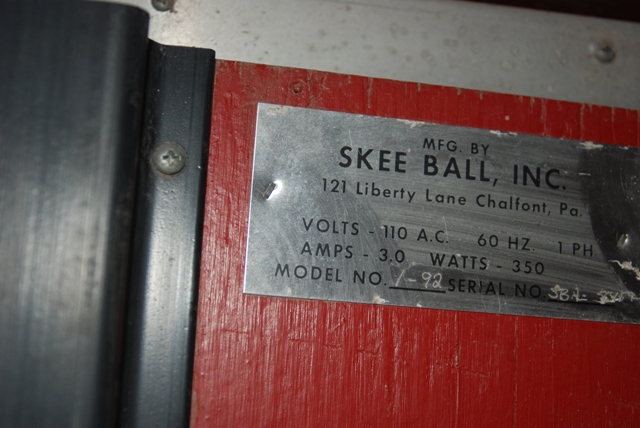
Here is a view of the maker tag that is located on the back of the machine. The model number is actually the month - year of the manufacture. The serial
number is what indicates that it is the 'newer' S model over the older H model.
|
|
|
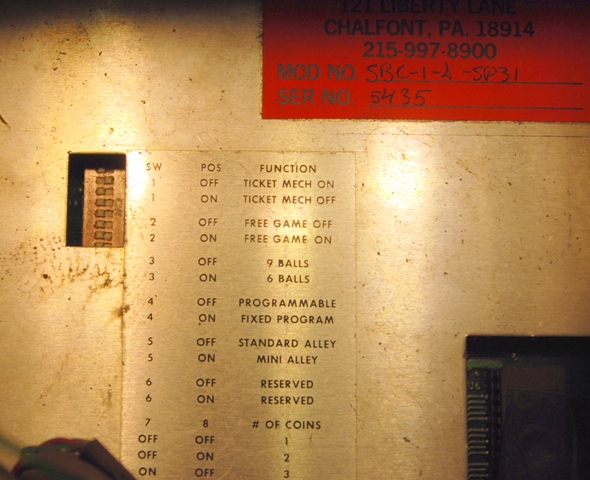
This is the dip switch and label on the Master Control Unit (MCU) of the game. The serial number appears below the model of MCU / game. The S series games
have the ability to function with the 100 point pockets and offer more sounds and game options than the H model. To set the game options, you move the dip switch
number 4 to the off position and turn the power on. Once the game options are set you then power off the machine and turn #4 back on.
|
|
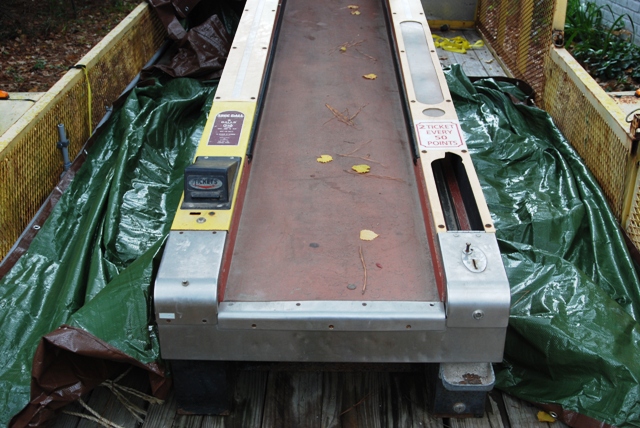
Here is the machine mostly clean and sitting in my gameroom with all the parts on it. The key locks haven't been installed yet and
it is powered off so you can't see the score segments that didn't work yet. This game takes up a lot of room and I'm not sure if it
will stay in the position it is in but it will have to do for now. With it all cleaned up and programmed, I had the following problems
to fix: 1)Score seems to incrementing by 50 instead of 10, 2)ball release is removed and non-functioning, 3)ticket machine needs testing,
4)play field positioning is off and 5)several of the score lamps or not working.
|

|
|
The first problem that was really nagging me was the score increments. After doing some searches on the net, I found a forum where
a member was discussing their attempt to modify an H model to have 100 point corner pockets. In that discussion thread they mention that
the S model 100 pocket score's 50 points first and then diverts the ball down the ramp past the other 5 switches incrementing the score
by 10 points each. It then hit me that my machine had multiple places to connect my switch string to. If you look at the photo on the
left you will see two connects low center, one on each side. You will also see one connection up higher on the right. I had the switch
string connected to the 100 pocket connections and thus it was score 50 points every time. I simple moved the connect to the one on the
upper right and #1 problem solved! BTW, this photo was take prior to any cleaning.
|
|
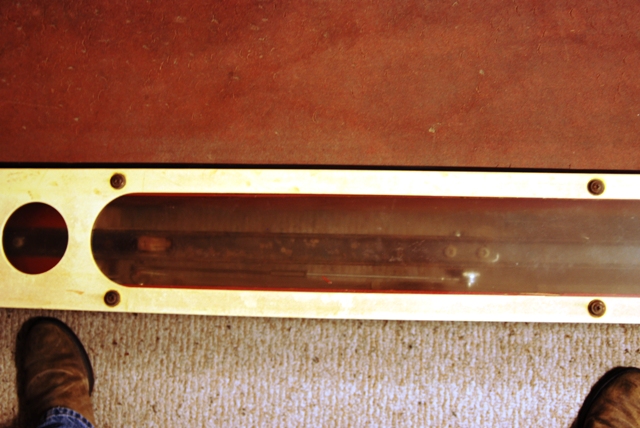
With the score problem fixed my next effort centered around making the ball release function as it should. The ball release is a simple
"rocker" set up with stops on both sides. When in the 'at rest' postion, the end of the rocker closest to the player (lower) is raised and holds
the balls with in the 'view area'. When the solenoid is activated, the rocker swivels and the balls are release to the player and the
other end rises to prevent additional balls from rolling to the player. After a few seconds, the solenoid is released and it returns to
the at rest position and begins to capture the played balls. The rocker was removed on my machine and the connecting rods bent in odd
shape. Additionally, one of the connection rods was missing. I removed the lower connection rod which was the worse bent and the end missing
a piece. I straightened out the rod and after determining it was a #8-32 threaded rod, I went to my local Ace Hardware and purchased a length
of #8-32 all thread about 4 foot long (in case I messed it up). I ground down the threads on one end and then bent it into a 'eye'. I then
cut the rod to the right length and reassembled the rocker mechanism. This photo is a top view of the repair through the ball viewer.
|
|
|
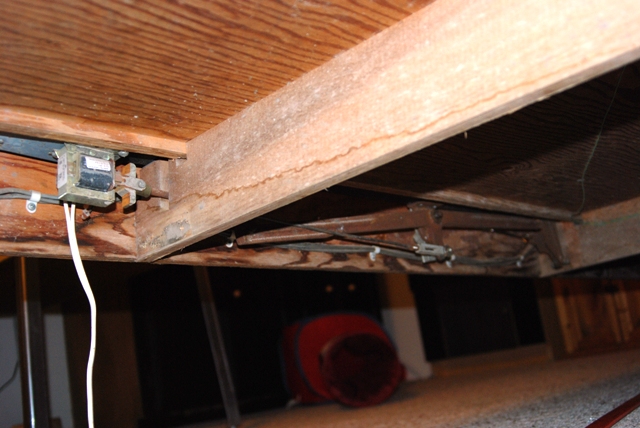
With the lower rods repaired I was able to test the ball release system. You can see in this photo the two white wires that hang down
from the solenoid. The solenoid is 110v so I used a switched power strip and piece of cut extension cord. The release system worked as
expected but the solenoid chattered something crazy loud! I searched eBay and found several replacement suppliers for about $39 plus shipping.
Looking at the solenoid I found a part number (2X240) and "Googled" that and found that Grainger Industrial Supplied carries these solenoids and
theirs was priced at $29.. plus, there is a Graingers between my home and work. The next day I had one in my hand and after replacing it there
was no more chatter! But I was still having to use the power strip to release the balls because the fuse cap on the CPU board was missing.
|
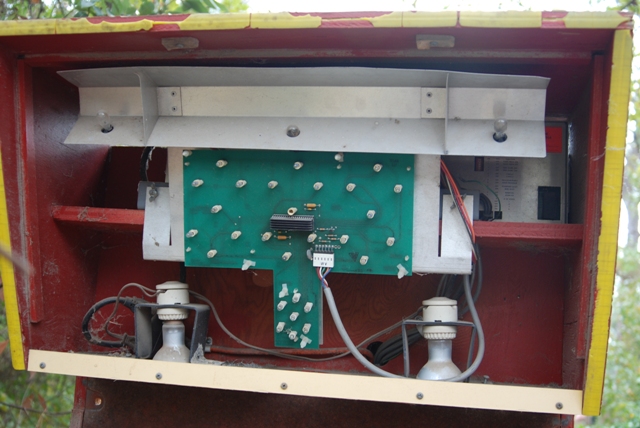
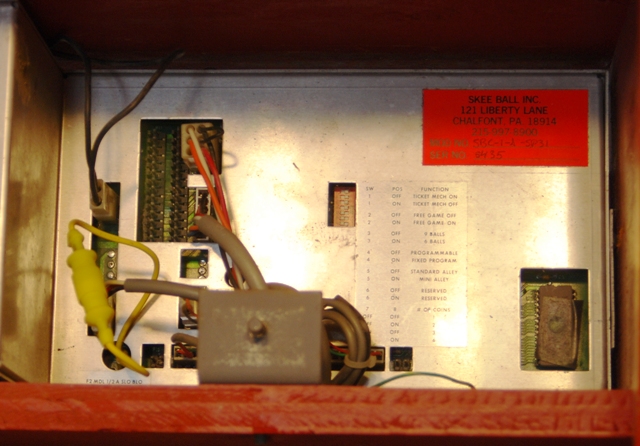
Not having the fuse cap was preventing me from make the ball release function like it should. A call to the original owner was made but she
didn't have it nor remembered seeing it. I contacted an eBay supplier of Skee Ball parts and after a few corespndences he stated that he could
sell me one for $14. However, I was ready to get this baby working so, I found a cheaper solution. Pulling the CPU from the machine, I
unsoldiered the fuse holder and then soldiered in a couple of wires and a yellow fuse holder. I put in the appropriate size and type of fuse and put
it all back together. This photos shows the CPU box after I put it back in to the machine. Functionally it works perfect! When a coin is
inserted and a game starts, the solenoid is engaged long enough for the balls to roll down and it is the deactivated and the weight of the
rocker returns it to the at rest position! Problem #2 solved!
I've done a bit more work and will be posting updates soon so keep checking back. This includes the play field positioning and the ticket
machine testing. I also have the manual for this machine in PDF format located here: Skeeball Model S.pdf
|
|